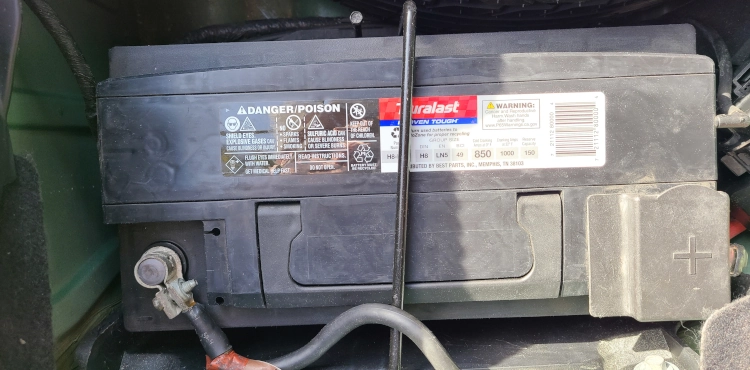
Did you know your battery determines how your vehicle performs?
Before we go any further, let's get something very important out of the way. Unless your vehicle was built BEFORE 1970, DO NOT disconnect either battery terminal to test the alternator! If you do, the alternator creates a high voltage 'spike' within milliseconds that can permanently damage many of the computer modules in modern vehicles. In other words, it could become very expensive to repair!
So, how do you know what condition your battery is in? There are several ways to tell:
- Use a multimeter set to read DC direct current at 20V. The multimeter should show at least 12.6 volts. If not, charge the battery at 2 - 5 amps for 5 - 6 hours and retest. If the multimeter still shows less than 12.6 volts, replace the battery.
- The starter spins the engine slowly, or the engine doesn't start. The starter may just make a 'clicking' sound.
- Instruments cluster gauges and lights aren't accurate, or become erratic.
- Headlamps and other lights don't seem bright, or turn signals don't work correctly.
- Some vehicles may experience a loss of power due to low fuel pressure, or begin to misfire.
If you prefer, many retail parts stores such as AutoZone or PepBoys can check your battery's condition at no charge. They may also be able to suggest different battery choices to fit your budget. You can also check your vehicle's Owner's Manual to see if a particular type, such as AGM (Absorbent Glass Mat) is suggested. Typically newer vehicles with a 'start-stop' system use an AGM battery to meet the demanding power requirements.
When it's time to change your battery, you can do it yourself unless the retailer offers free installation. Here are some tips to help make the job easier:
- Clean the area around the existing battery before removing the hold-down bracket or disconnecting the terminals. It's important to make the battery area clean and remove any corrosion from the wire terminals. Use gloves and wear eye protection as the corrosion present on the terminals contains sulphuric acid. You can use a spray battery terminal cleaner, or some baking soda mixed in water to neutralise the acid corrosion.
- Remove the NEGATIVE (-) terminal connector first. It's the one with the black wire that goes to the vehicle body or chassis.
- Remove the POSITIVE (+) terminal connector. It's the one with the RED wire.
- Once the terminls are removed, secure them out of the way and remove the battery holder bracket.
- Carefully lift the old battery out of the tray and set it aside out of the way.
- Inspect the battery tray and surrounding areas for any rust or corrosion. Remove any rust and prime/paint the area before reinstalling the battery tray.
- Thoroughly clean the wire terminals to make sure they have no remaining corrosion.
- Install the new battery in the reverse order you used to remove the old one.
- DO NOT overtighten the terminal connections! The terminals should not move on the battery posts, but they should also not be distorted. Torque the terminal bolts/nuts to not more than 15 Nm (11 ft-lbs).
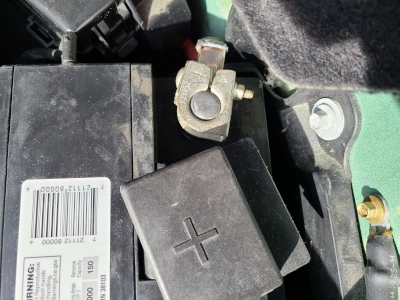
If your vehicle uses covers over one or both battery terminals, be sure you remember to install them on the new battery.


