How do you know your brakes are performing as they should?
Your vehicle's brakes are perhaps its most important safety system. Even if the vehicle doesn't perform at its peak, it still MUST be able to stop!
Here are some basic inspections you can perform to make sure your brakes are working correctly:
- Check the brake fluid level in the reservoir above the brake master cylinder. If the fluid level is at the 'Minimum' mark, look for fluid loss or worn brake pads/shoes.
- Brake fluid is hygroscopic and absorbs moisture over time. Use a brake fluid tester to check the moisture content of the brake fluid. Excess moisture in the fluid can cause it to boil under heavy braking with a loss of pedal pressure.
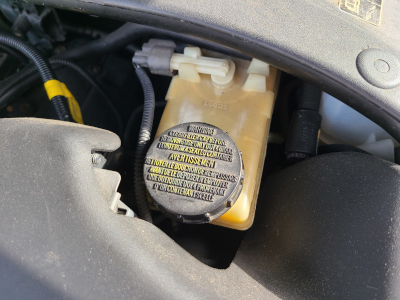
Before removing the cap from the brake master cylinder, make sure the areas is clean and dry.
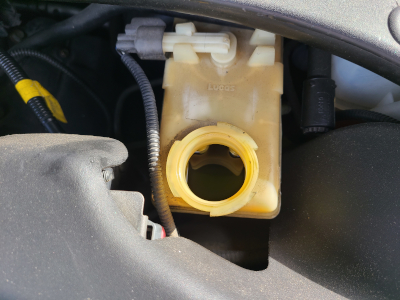
You can check the fluid level by looking inside the master cylinder reservoir. You can also check the fluid level through the side of the reservoir without removing the cap if your vehicle has a translucent reservoir like the one in the pictures above.
If the fluid looks very dark, it may be from rubber particles that have separated from seals in the braking system.
If the fluid level is lower than the 'MAX' mark on the reservoir, check for leaks. If no leaks or seepage is found:nspect the front and rear brake pads or rear shoes for wear.
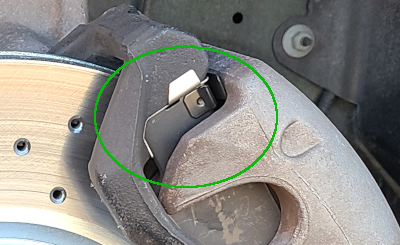
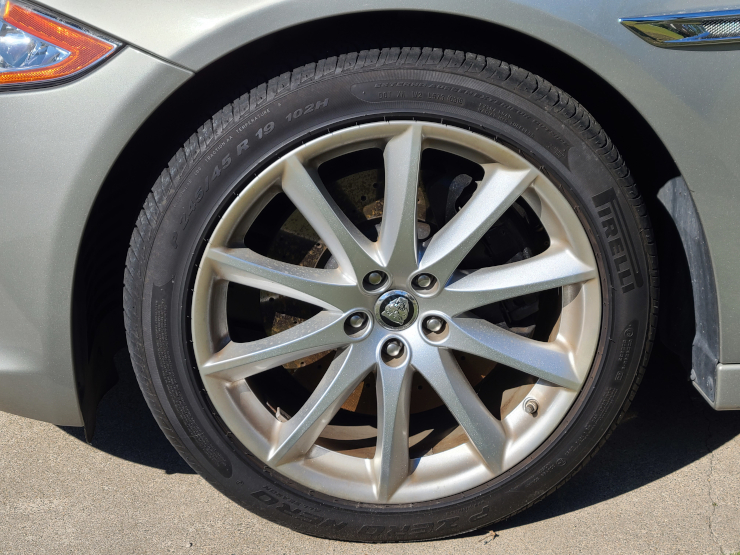
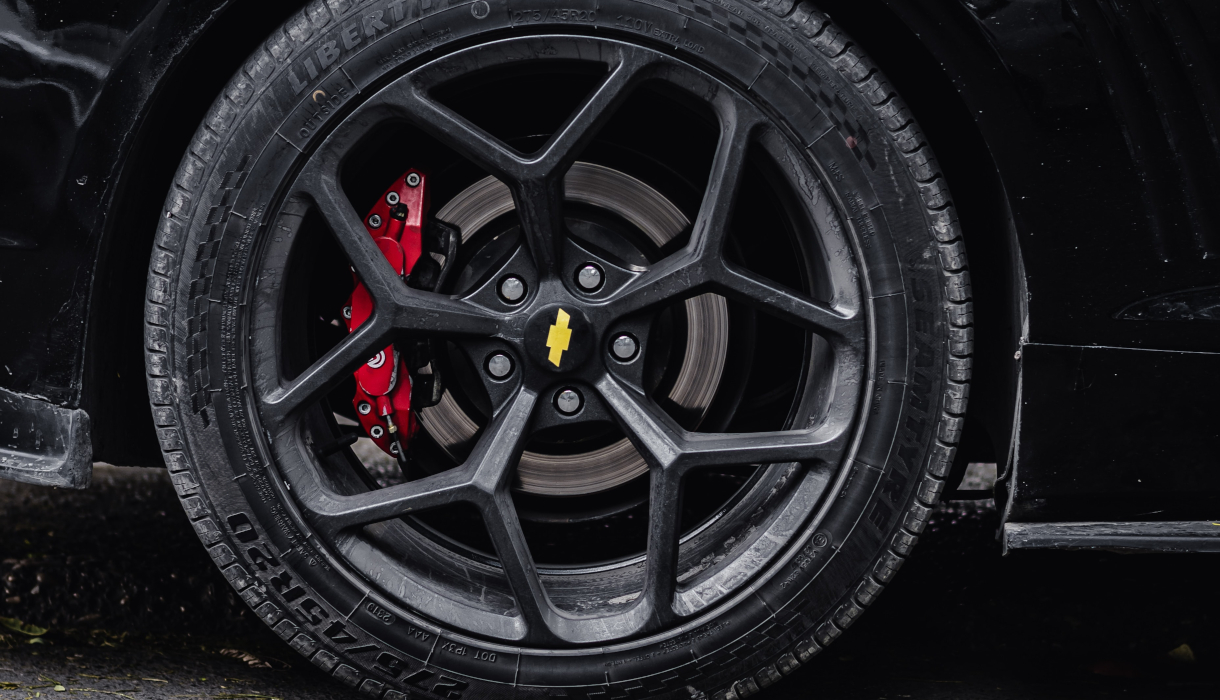
In the picture above, the green circle shows the area to look at so you can see the front brake pads. New brake pads have 10mm to 12mm of friction material.
Here's how you check your brakes:
- Remove a front and rear wheel to inspect the brake pads for wear. Inspect the front pads and rear shoes if your vehicle has rear drum brakes.
- Check the remaining friction material on the pads. The pads are worn out when there is less than 3mm (1/8-inch) of friction material remaining. On some vehicles, you can use a brake lining gauge such as the Lisle 81850 combination gauge to measure the remaining friction material.
- Rear drum brake shoe linings come in two different types: bonded and riveted. As with disc pads, rear brake shoes should be replaced when there is 3mm (1/8-inch) of friction material remaining.
- Measure remaining drum brake shoes using a ruler for bonded lining or depth gauge in the rivet holes for riveted lining.
- Inspect brake discs (rotors) for scoring or uneven wear. If the discs have uneven wear, they may be able to be resurfaced if there is enough material left. The brake disc minimum thickness is stamped onto the casting around the edge, on the 'hat' or inside the vanes if the disc is ventilated.
- Measure the brake discs across their edges with a micrometer to determine if they are worn below the minimum thickness. If a disc is worn to minimum thickness or below, it must be replaced. Brake discs must ALWAYS be replaced in axle sets.
- Brake drums also have a maximum diameter when measured from the inside. The maximum diameter may be stamped on the drum casting. Generally, a brake drum should NOT be machined more than 1.5mm (.060-inch) beyond its original diameter. If the drum is out of round or excessively worn it must be replaced.
- If brake linings are contaminated with brake fluid due to leaks, they MUST be replaced in axle sets. DO NOT attempt to clean contaminated brake linings with brake cleaner or other solvents.
NOTE: If your vehicle has drum brakes, DO NOT press the brake pedal whilst any of the brake drums are removed! If the brake pedal is pressed with one or more of the brake drums removed, the hydraulic cylinder for that wheel may come apart causing brake fluid to be forced out under pressure.
If you're unsure about diagnosing the condition of any components in your brake system, DO NOT GUESS! Seek the advice of a competent shop or automotive Technician before doing any work on your vehicle's braking system.


